
When you first hear about DTF transfers, you might wonder if they're just another passing trend in the custom apparel world. But after using them for several projects, I can tell you they're a game-changer. Unlike traditional heat transfer vinyl or screen printing, DTF transfers let you print full-color, high-detail designs onto almost any fabric without weeding or messy setup. In this guide, I'll walk you through everything you need to know to get started and achieve professional results.
I remember my first attempt with DTF: I was skeptical about the durability and feel. But after washing a test shirt dozens of times, the print remained vibrant and soft. That experience sold me. Now, let's dive into the details so you can avoid the mistakes I made and get perfect prints from the start.
What Are DTF Transfers and How Do They Work?
DTF stands for Direct to Film. The process involves printing your design onto a special PET film using a DTF printer and water-based inks. A powdered hot-melt adhesive is then applied to the wet ink, and the film is cured. When you're ready to apply, you heat press the film onto your garment, peel it away, and the design remains bonded to the fabric.
The magic lies in the adhesive powder. It melts under heat, creating a strong bond with the fibers. This allows DTF transfers to adhere to cotton, polyester, blends, and even treated nylon. No more worrying about fabric limitations like with vinyl or screen printing.
The DTF Printing Process Step by Step
Here's a quick overview of how DTF transfers are produced:
- Design Preparation: Create your artwork in a graphics program and mirror it horizontally.
- Printing: Load the PET film into a DTF printer. The printer lays down a layer of white ink (for opacity) followed by CMYK colors.
- Powder Application: While the ink is still wet, sprinkle the hot-melt adhesive powder evenly over the design.
- Curing: Place the film in a curing oven or under a heat press to melt the powder. This creates a dry, tack-free surface.
Once cured, the transfer is ready to be stored or applied. The shelf life is typically several months if kept in a cool, dry place.
Why Choose DTF Transfers Over Other Methods?
If you're used to HTV or screen printing, you'll appreciate the freedom DTF offers. Here are the main advantages:
- No Weeding: Unlike vinyl, you don't need to cut and weed tiny details. This saves hours on complex designs.
- Full Color: DTF printers use CMYK+White, so you can print gradients, photographs, and intricate patterns without color limitations.
- Fabric Versatility: Works on cotton, polyester, blends, and even some synthetic fabrics that are tricky for other methods.
- Durability: When applied correctly, DTF prints withstand repeated washing without cracking or fading.
- Stretchability: The transfer stretches with the fabric, making it ideal for athletic wear.
I've used DTF on everything from t-shirts to tote bags, and the results are consistently impressive. The colors pop, and the feel is soft—not plasticky like some other transfers.
How to Apply DTF Transfers: A Step-by-Step Guide
Applying DTF transfers is straightforward, but following the right steps ensures a long-lasting bond. Here's my tried-and-true method:
What You'll Need
- A heat press (or a home iron with no steam)
- Your DTF transfer
- Parchment paper or a Teflon sheet
- The garment you're decorating
Step-by-Step Application
- Preheat the Press: Set your heat press to 325°F (160°C). If using an iron, set it to the highest cotton setting with steam off.
- Pre-Press the Garment: Press for 5-10 seconds to remove moisture and wrinkles. This step is crucial for a smooth application.
- Position the Transfer: Place the DTF transfer on the garment with the printed side facing up. The design should be facing you, not mirrored.
- Press: Cover with parchment paper and press for 15-20 seconds with medium pressure. For an iron, press firmly for 30 seconds.
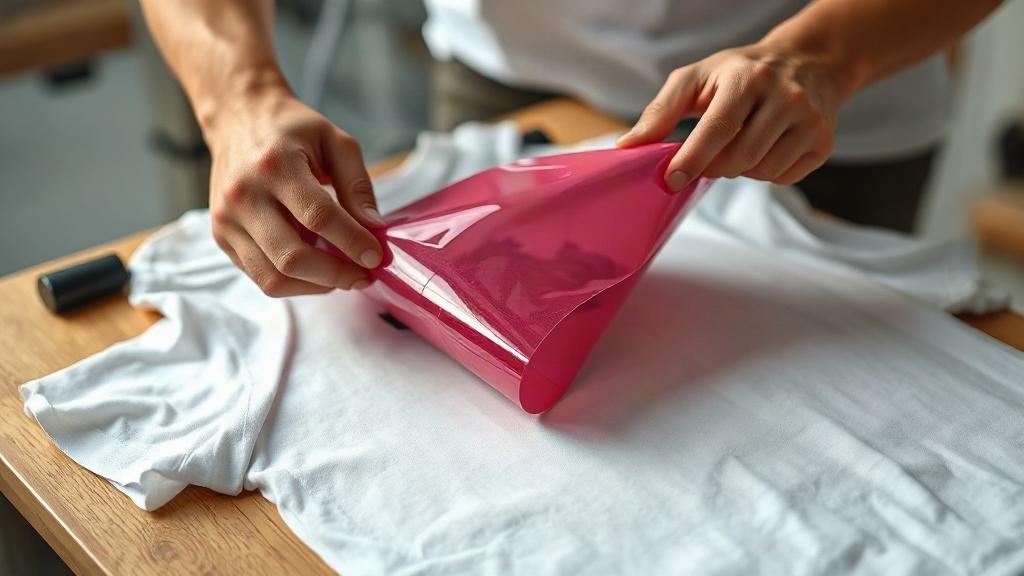
- Peel: Wait a few seconds, then peel the film off while it's still warm. Peel in a smooth, continuous motion.
- Post-Press: Cover the design with parchment paper again and press for another 5-10 seconds to fully set the adhesive.
And that's it! Your custom apparel is ready to wear.
Common Mistakes to Avoid with DTF Transfers
Even though DTF is forgiving, a few missteps can ruin your results. Learn from my early errors:
- Not Pre-Pressing: Skipping pre-press can trap moisture, causing the transfer to peel.
- Incorrect Temperature: Too low, and the adhesive won't melt; too high, and you'll scorch the fabric or film.
- Peeling Too Soon or Too Late: Peeling immediately after pressing (while hot) is usually best, but some films require cold peel. Always check the instructions.
- Uneven Pressure: Make sure your press applies even pressure across the entire design.
- Washing Too Soon: Wait at least 24 hours before washing. Turn the garment inside out and use cold water.
Avoid these pitfalls, and your DTF transfers will look professional and last for years.
DTF Transfers vs. Other Printing Methods
How does DTF stack up against screen printing, DTG, and vinyl? Here's a quick comparison:
- Screen Printing: Best for large orders of simple designs. DTF wins for complex, multi-color designs and small batches.
- DTG (Direct to Garment): Great for cotton, but DTF works on more fabrics and often has brighter colors.
- Vinyl: Ideal for simple text and shapes. DTF is superior for detailed artwork and photos.
For small businesses or hobbyists, DTF offers the best balance of quality, versatility, and cost.
Frequently Asked Questions About DTF Transfers
How long do DTF transfers last?
With proper application and care, DTF transfers can last 50+ washes without fading or cracking. Always follow washing instructions: cold water, inside out, and no bleach.
Can I use DTF transfers on dark fabrics?
Absolutely! DTF transfers include a white ink layer that makes colors pop on dark backgrounds. This is a major advantage over DTG, which may require a white underbase.
Do I need a special printer for DTF?
Yes, DTF requires a dedicated DTF printer that uses pigment inks and can handle PET film. However, you can also buy pre-printed transfers from suppliers if you don't want to invest in a printer.
What's the best temperature for pressing DTF transfers?
Most DTF transfers require 325°F (160°C) for 15-20 seconds. However, always check the instructions from your transfer supplier, as formulations can vary.
Can I stretch DTF prints?
Yes, DTF transfers are flexible and will stretch with the fabric without cracking. This makes them perfect for athletic wear and stretchy materials.
Final Thoughts
DTF transfers have revolutionized the custom apparel industry by combining ease of use with professional-quality results. Whether you're a small business owner or a DIY enthusiast, mastering DTF can open up a world of creative possibilities. Remember to practice, follow the steps, and avoid common mistakes. With a little patience, you'll be producing stunning, durable prints that impress your customers and friends alike.