
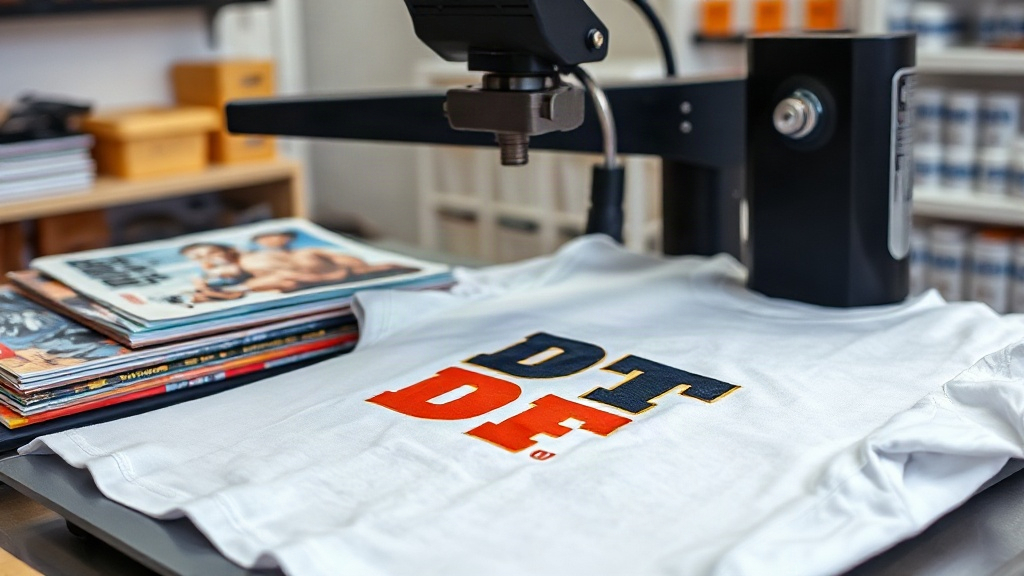
Imagine pressing a vibrant, full-color design onto a cotton t-shirt, a polyester jacket, or even a canvas tote, all with a single sheet and a heat press. That's the power of DTF transfers. Whether you're a small business owner, a craft hobbyist, or a promotional products distributor, DTF transfers open up a world of possibilities for custom apparel. In this guide, we'll walk you through the DTF transfer process, compare it to other methods, and share expert tips to help you achieve professional results every time.
What Are DTF Transfers?
DTF stands for Direct-to-Film. It's a printing technology where your design is printed onto a special PET film using water-based pigments, then coated with a hot-melt adhesive powder. Once the powder is cured, the transfer is ready to be applied to fabric using a heat press. Unlike DTG (Direct-to-Garment) or screen printing, DTF transfers don't require pretreating or specialized inks for different fabrics. They work on virtually any material, including cotton, polyester, blends, leather, and even nylon.
How DTF Transfers Are Made
The DTF process involves several precise steps. First, your artwork is printed onto a PET film with a DTF printer. The printer lays down a layer of white ink, followed by CMYK colors, creating a mirror image of your design. Next, a fine layer of adhesive powder is applied to the wet ink. The film then goes through a curing oven or heat press to melt the powder, which becomes the bonding agent. Once cured, the transfer is ready to be stored or applied. The entire process can be done in-house with the right equipment, or you can order custom DTF transfers from a supplier.
Step-by-Step DTF Transfer Creation
- Design Preparation: Create your artwork in a graphic design program. Remember to mirror the image horizontally before printing.
- Printing: Load the PET film into your DTF printer. The printer applies white ink first, then color inks.
- Powder Application: While the ink is still wet, sprinkle the hot-melt adhesive powder evenly over the design. Shake off excess.
- Curing: Place the film in a curing oven or under a heat press for the recommended time and temperature (usually 160°C for 2-3 minutes).
- Ready to Apply: Your DTF transfer is now ready to be pressed onto fabric.
Benefits of DTF Transfers
Why choose DTF over other decoration methods? Here are some compelling advantages:
- Versatility: Works on almost any fabric, including cotton, polyester, blends, and even leather.
- No Pretreatment: Unlike DTG, DTF doesn't require pre-treating the garment, saving time and money.
- Vibrant Colors: DTF printers use CMYK plus white ink, producing bright, opaque designs on both light and dark garments.
- Durability: When applied correctly, DTF transfers withstand repeated washing without cracking or fading.
- Cost-Effective for Short Runs: No screens or setup fees, making it ideal for small batches and one-offs.
- Soft Hand Feel: The adhesive powder creates a flexible, thin layer that doesn't feel rubbery.
DTF vs. Other Printing Methods
How does DTF stack up against screen printing, DTG, and vinyl? Let's compare.
DTF vs. Screen Printing
Screen printing is cost-effective for large orders but requires separate screens for each color and garment. DTF excels in short runs and complex designs with gradients. DTF also works on dark fabrics without a white underbase.
DTF vs. DTG
DTG prints directly onto cotton garments and requires pretreatment for dark shirts. DTF works on more fabrics and doesn't need pretreatment, but it involves an extra transfer step. DTF typically produces more durable prints on polyester.
DTF vs. Heat Transfer Vinyl
HTV is great for simple, single-color designs but limited for multi-color graphics. DTF handles full-color images with fine details and is faster for complex artwork.
How to Apply DTF Transfers
Applying a DTF transfer is straightforward with a heat press. Follow these steps for best results.
Equipment Needed
- Heat press (or iron with no steam)
- DTF transfer
- Garment
- Heat-resistant tape (optional)
- Parchment paper or Teflon sheet
Application Steps
- Preheat the Press: Set your heat press to 150-160°C (300-320°F).
- Position the Transfer: Place the DTF transfer on the garment with the printed side facing up. Use heat tape to secure if needed.
- Press: Cover with parchment paper and press for 10-15 seconds with medium pressure.
- Peel: Remove the film while it's still warm (warm peel) or let it cool completely (cold peel) depending on the adhesive type. Most DTF transfers are cold peel.
- Post-Press: For added durability, press again for 5-10 seconds with parchment paper.
Tips for Perfect DTF Transfers
- Always test on a scrap fabric first to dial in temperature and pressure.
- Ensure the garment is free of wrinkles and moisture.
- Use consistent pressure; too little leads to poor adhesion, too much can cause ink spread.
- Store unused transfers in a cool, dry place away from direct sunlight.
- Wash garments inside out in cold water and avoid fabric softeners to extend print life.
Common Challenges and Solutions
Even with experience, you might encounter issues. Here are fixes for common DTF problems.
Transfer Not Sticking
Insufficient pressure, low temperature, or inadequate time can cause poor adhesion. Increase pressure and ensure even temperature across the platen. Also, check that the adhesive powder was properly cured.
Cracking or Fading
Over-stretching the garment during pressing or using too high heat can lead to cracking. Use moderate pressure and follow the recommended temperature. Washing inside out also helps.
Color Bleeding
If colors bleed, the ink may not have been fully cured before powder application. Ensure the printed film is completely dry before applying powder, and cure according to the manufacturer's guidelines.
Applications of DTF Transfers
DTF transfers are used across many industries. Here are some popular applications:
- Custom T-shirts: Perfect for personalized gifts, team uniforms, and event merchandise.
- Activewear: Stretchy and durable on polyester and spandex blends.
- Bags and Accessories: Add logos to totes, backpacks, and hats.
- Home Decor: Personalize pillows, quilts, and wall hangings.
- Corporate Apparel: Brand polos, jackets, and safety vests.
Frequently Asked Questions About DTF Transfers
What fabrics can I use with DTF transfers?
DTF transfers work on a wide range of fabrics, including cotton, polyester, cotton-poly blends, nylon, leather, and even some treated synthetic materials. They are especially good for fabrics that are difficult to print with other methods.
How long do DTF transfers last?
When applied correctly and cared for properly, DTF transfers can last as long as the garment itself. Following washing instructions (inside out, cold water, no bleach) will maximize longevity.
Can I stretch DTF transfers?
DTF transfers have some stretchability, but they are not as elastic as the fabric itself. For highly stretchy garments, consider designs that don't span across areas with extreme stretch, or use a transfer with a stretchable adhesive.
Do I need a special printer for DTF?
Yes, DTF printing requires a dedicated DTF printer that uses water-based pigment inks and white ink. However, you can also order custom DTF transfers from professional suppliers if you don't want to invest in equipment.
Is DTF printing eco-friendly?
DTF printing uses water-based inks, which are more environmentally friendly than solvent-based alternatives. However, the PET film and adhesive powder do contribute to waste, so proper disposal and recycling are encouraged.
Conclusion
DTF transfers have emerged as a versatile and cost-effective solution for custom apparel decoration. With the ability to print on almost any fabric, vibrant colors, and durable results, it's no wonder that DTF is gaining popularity among businesses and hobbyists alike. By understanding the process, benefits, and best practices, you can harness the power of DTF transfers to create stunning custom products. Whether you're making team jerseys, promotional items, or personalized gifts, DTF transfers deliver professional-quality results that impress.