
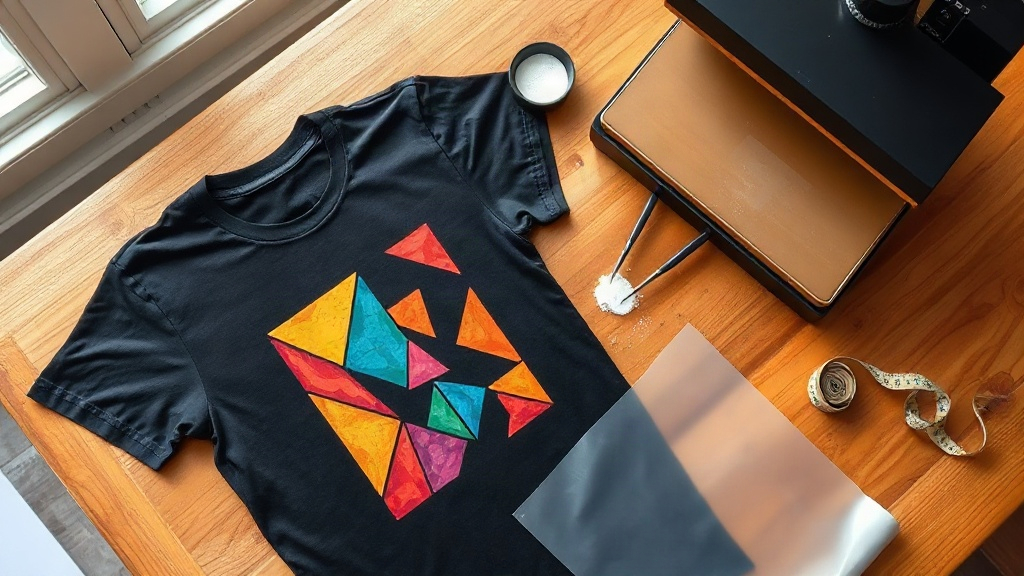
Getting a crisp, full-color design onto a cotton tee used to mean screens, minimums, and a lot of wasted film. Then dtf transfers changed the math. A single sheet of transfer film can carry gradients, fine detail, and photographic color, and it presses onto almost any fabric blend without the setup costs that come with screen printing. That flexibility is why small shops, sports teams, and side hustlers have moved so much of their decoration work to DTF. But the process has rules. Press too cool and the powder stays tacky; peel too early and half your design stays on the carrier. This guide walks through what actually matters when you order custom DTF transfers and press them yourself.
What a DTF Transfer Actually Is
DTF stands for direct to film. A printer lays your design onto a special PET film using water-based pigment inks, then a powdered hot-melt adhesive is scattered across the wet ink. After the powder is shaken off and the sheet is cured, you have a flexible, transferable print. At press time, heat reactivates that adhesive and bonds the ink layer to the fabric.
The important detail is that the adhesive sits on the back of the print, not the face. That is what gives DTF its soft hand feel compared with a vinyl patch, and it is also why the press settings matter more than most people expect. The adhesive needs enough heat and pressure to flow into the weave, but not so much that the ink layer bleeds or the film curls.
Why the Powder Layer Matters
If you have ever peeled a transfer and watched the edges lift a day later, the adhesive probably was not fully cured or fully melted. The powder has to be applied evenly and cured until it looks matte rather than glossy. When you order from a shop that runs its own production line, this step is already handled. When you buy budget sheets from a marketplace seller, it is the first thing to inspect. Hold the sheet up to light and look for bald spots where the powder looks thin or missing.
Preparing Artwork Before You Order
Most transfer problems start in the design file, not at the heat press. A few minutes of cleanup saves a reprint.
- Work at final size. Build your artwork at the exact dimensions you want on the garment. Scaling a small file up 300 percent is how edges get fuzzy.
- Keep a transparent background. DTF prints the ink that exists, so any white box behind your logo will press as a white box.
- Leave a small margin. Give the printer a few millimeters of clear film around the design so the cut line does not clip your artwork.
- Check thin lines. Hairlines under about 1 point can break apart during pressing. Nudge them up slightly.
- Think about garment color. On dark shirts, DTF lays down a white ink base under the color. That is normal and it is what makes the design pop.
If your file is a low-resolution JPEG pulled from a chat app, ask for a vector or high-resolution version before you commit. A 300 DPI file at print size is the safe target.
Choosing the Right Size for the Garment
Sizing is where experience shows. A design that looks balanced on a youth medium will look cramped on a 3XL. Rough starting points for adult garments:
- Left chest: 3 to 4 inches wide
- Full front: 10 to 12 inches wide, positioned about 3 inches below the collar
- Full back: 11 to 13 inches wide, centered between the shoulder seams
- Sleeve: 2.5 to 3.5 inches wide, measured along the sleeve
These are starting points, not laws. Print a paper proof at actual size and lay it on the shirt before you send the order. It takes two minutes and prevents the most common customer complaint in the business.
Press Settings That Actually Work
Every press runs a little differently, so treat any published number as a starting point and dial it in on scrap fabric.
Temperature, Pressure, and Time
A typical range for DTF is 300 to 320 degrees Fahrenheit for 10 to 15 seconds with medium to firm pressure. Cotton usually sits at the higher end of the time range; polyester blends often do better at the lower end because excessive heat can dull the colors or cause the fabric to scorch.
Pressure is the variable people underestimate. Light pressure leaves the adhesive sitting on top of the weave instead of inside it. You want enough pressure that you feel resistance when you push the handle down, but not so much that the film wrinkles under the platen.
Peel Timing
Most modern DTF films are cold peel or warm peel, and the supplier should tell you which. Cold peel means you wait until the sheet is completely cool, usually a minute or two, then peel in one smooth motion. Warm peel means you pull while the sheet is still hot but comfortable to touch. Peeling at the wrong moment is the single most common cause of a design that looks fine until the first wash.
The Second Press
After peeling, many shops run the garment through a second short press, around 5 to 10 seconds, using a cover sheet or parchment. This step re-melts the surface of the ink, smooths any texture from the powder, and improves wash durability. It is optional on some films but worth doing on anything that will be worn hard.
Fabric Types and What to Expect
DTF is not picky, but it is not magic either.
- 100 percent cotton: The easiest surface. Excellent adhesion and a soft finish.
- Cotton and polyester blends: Very reliable, especially 50/50. Colors stay bright.
- 100 percent polyester: Works well at slightly lower temperatures. Watch for dye migration on bright red or navy garments, where the fabric dye can bleed into the print over time.
- Nylon and treated outdoor fabrics: Possible but fussier. Test first, because some coatings repel the adhesive.
- Canvas bags and totes: Great candidates. The flat surface makes pressing simple.
Common Failures and How to Fix Them
The Design Lifts at the Edges
Usually under-pressing. Increase time or pressure, and make sure the corners of the design are fully covered by the press platen. If the edge is at the very border of the heat zone, it will never bond properly.
The Print Feels Stiff or Plastic
Too much adhesive or too heavy an ink layer. Large solid blocks of color always feel firmer than fine line work. If softness matters most, keep large areas of solid white to a minimum on dark garments.
Colors Look Dull After Washing
This is often a wash-care issue rather than a press issue. Turn the garment inside out, use cold water, and skip the dryer on high heat. Heat is what breaks down the adhesive bond over time.
The Film Curls While Pressing
Trim excess film close to the design before pressing, and make sure the sheet is flat, not folded. A curled corner can lift the print underneath it.
Ordering Custom DTF Transfers Without Wasting Money
Two things drive cost: total print area and quantity. Gang multiple designs onto one sheet when you can, and order a few extras of anything you plan to sell. Reprinting a single design later costs far more per unit than adding it to the original run.
Ask about turnaround, film type, and whether the shop gang-sheets small designs. A supplier that answers those questions clearly is usually a supplier that runs a real production line rather than reselling someone else's output. Store transfers flat in a cool, dry place, away from direct sunlight, and they will keep for months.
If you would rather skip the trial and error, Patches Prime produces custom DTF transfers to your artwork with consistent adhesive coverage and clear press instructions included with every order. Send your file, confirm the size on a paper proof, and your first press should be your only test.
Frequently Asked Questions
How long do custom DTF transfers last on a shirt?
With proper pressing and cold-water washing inside out, a quality transfer typically holds up for dozens of wash cycles. The bond is mechanical and thermal, so the two things that shorten its life are high dryer heat and harsh detergent.
Can I press DTF transfers onto a shirt that already has a print on it?
Yes, as long as the existing print is fully cured and flat. Press the new transfer over the old area with a cover sheet, but keep in mind that stacking layers adds thickness and can make the edges of the lower print more visible.
Do I need a commercial heat press, or will an iron work?
An iron can produce a transfer, but it applies uneven pressure and heat, so results are inconsistent and durability suffers. A clamshell or swing-away press with a temperature readout gives you repeatable results and is worth the investment if you plan to sell.
What is the difference between DTF and DTG?
DTG prints directly onto the garment, which limits you mostly to cotton and ties you to one shirt at a time. DTF prints onto film first, so you can decorate polyester, blends, and odd items, and you can pre-print a batch of transfers and press them on demand.
How should I store unused DTF transfers?
Keep them flat, in a sealed bag or folder, in a cool and dry spot out of direct sun. Avoid stacking heavy objects on top, since creases in the film can transfer into the print during pressing.